 How to Use a Cricut –
If you received a new Cricut as a gift or maybe you just treated yourself to one, I’m willing to bet you now want to know How to Use a Cricut Machine.
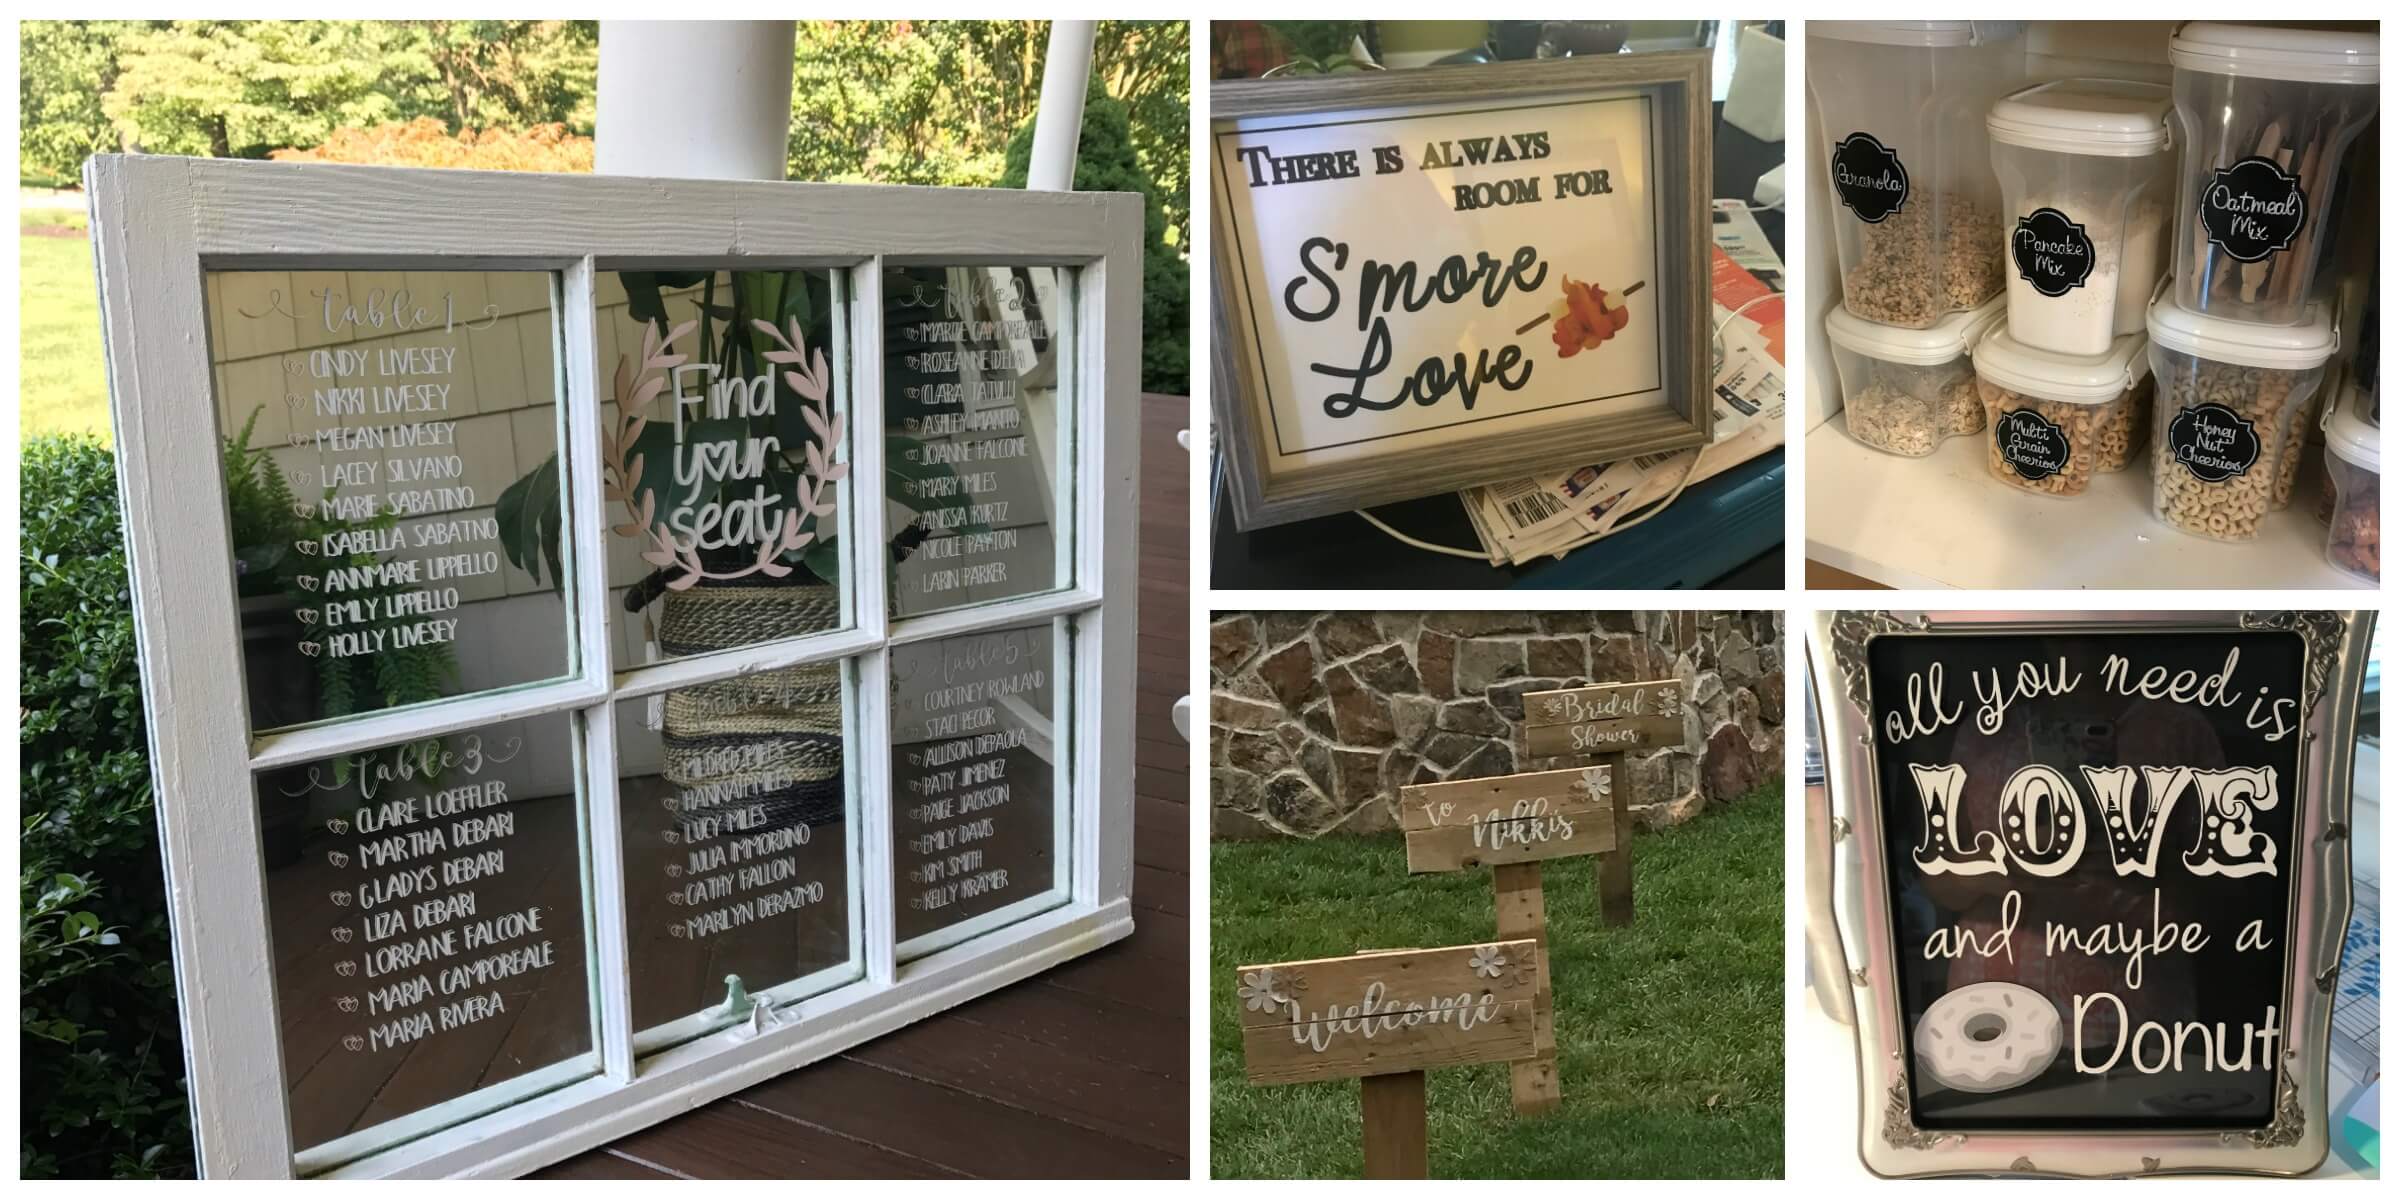
They are so fun to use and you can make some pretty crafts and signs. One of the ways I used my Cricut was to make a seating sign for my daughter, Nikki’s, bridal shower. You can see it above as well as some other items I’ve made over the last couple of years.
So, let’s dig deeper into How to Use a Cricut so you can get started making some fun things for your home and for gifts.
Why a Cricut?
The Cricut is a multifunctional machine that can cut many types of materials. It can also write with a pen or marker and score(this is used for card or box making). The Cricut machine is an essential tool for many crafters from card makers & scrapbookers to t-shirt makers and quilters. YES, I said quilters; the Cricut can cut fabric. It also cuts materials such as cardstock, paper, faux leather, vinyl, and thin woods.
If you have not purchased one yet..what are you waiting for? Run now, I’ll wait.
YES! You have purchased your Cricut and now is the fun part. Setting up your machine so you can make your first project.
Setting Up Your Cricut
- Unpack your Cricut, power cord, USB cord, instruction book, and accessories.
- Plug your Cricut into the wall first and then plug the USB into your computer.
- Using your computer, head over to the Cricut Design Center Set Up
- Follow the step by step instruction to install Cricut Design Space & make your Cricut account.
YAY! You are now ready to start learning how to use your Cricut.
Tools to Help You Learn

For many, learning the Cricut can be overwhelming but don’t let that be you. There are so many great resources at your fingertips. The first place I want you to go to learn is through the Cricut Learning Center.
As you can see, there are categories for Design Space, Cutting Materials, and individual categories for each of the Cricut machines currently on the market. Click the category for your machine you purchased. I suggest the first video to watch is the tour of the machine.
I suggest this video because it gives an in-depth look at the specifics of your machine. This is important because there are subtle differences between each machine and there are major differences between some machines. You can always go back to this link anytime to watch videos on specific projects like vinyl, fabric, or chipboard.
Additional Tools Available
There are multiple sets of Cricut tools on the market. Here is a list of tools that Cricut has.
- The Cricut Weeder ~ It removes the little specks of unwanted material out of your cut image.
- The Cricut Scraper ~ This tool is really handy when applying vinyl or removing leftover material pieces off your mat.
- The Cricut Spatula ~ This is a must-have tool if you do a lot of paper crafting. It will stop the paper from curling.
- The Cricut Tweezers ~ This is great if you are working with small embellishments.
- The Cricut Scoring Tool ~ You will be prompted to place this tool in the machine when working on cardmaking or 3D crafting.
- The Cricut Trimmer ~ This is a 12in trimmer that will cut sheets of paper, cardstock, or vinyl straight.
- The Circut Standard Grip Cutting Mats – These mats are used to keep your paper secure while printing or cutting.
There are starter kits available that come with the basic tools. Here is one that includes some tools and some mats. And here is one that also includes some papers.
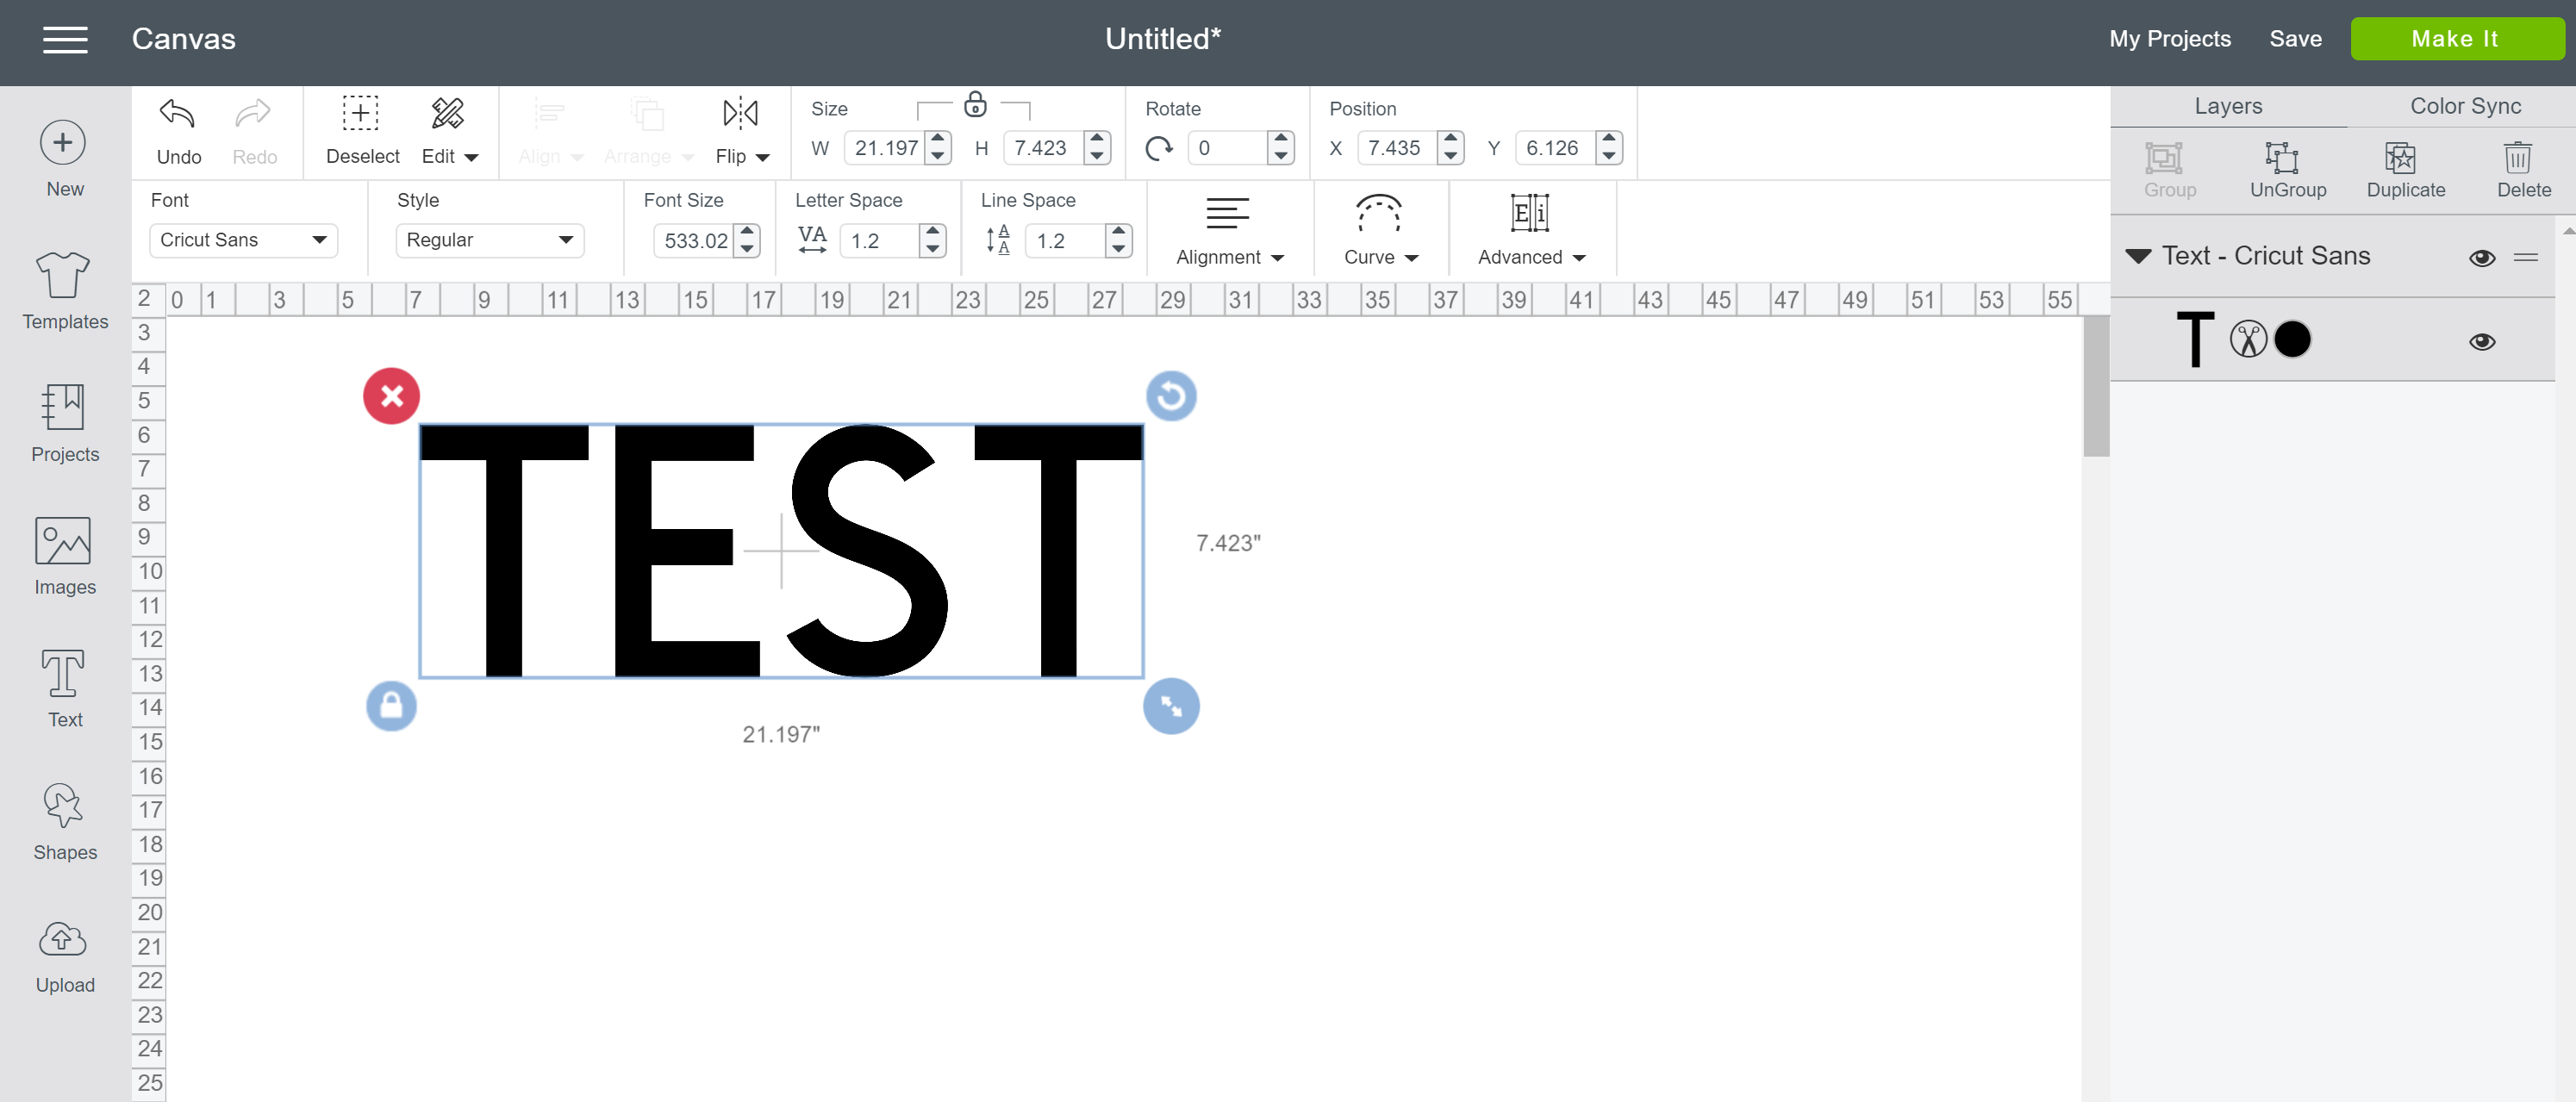
Design Space

While you are watching videos, be sure to check out the Design Space category. Design Space is the online-based program that Cricut has and that is where you will design all your projects. The Design Space for Beginners tab is a lifesaver for a newbie. Also, check out the Webinars and the Project Tutorials.
Note, you will need to set up an account to gain complete access to the design space. Setting up an account is free however, for some of the design features, you can opt for a monthly subscription or pay per design. We’ll talk about that a little bit more below.
Here are the tools available within your Design Space:
1. Templates

Design Space offers Templates which can be very helpful when making a project. The templates offer different sizes of the items or they also offer custom range so you can make it the template fit your needs for your project.
Once you choose the template that fits your project, it will pop up on your Design Space canvas. You can then design your project accordingly.
2. Images

Next, you get to pick your image for your template. When you click Images on the left-hand toolbar, it will pop up so many images. Luckily, they have a search bar so you can locate images that only pertain to your current project. Some images are free, some are included in the monthly Cricut Access(optional service), and some you can pay for one-time use. Items with the green banner with the lower case A are included in Cricut Access.
3. Text
The text feature in Design Space is amazing. Not only can you use the free fonts or the Cricut Access fonts, but you can also use any system font that is on your computer. Just remember if you are downloading free fonts to check their user license agreements(some fonts are for personal use only but not commercial use if you plan on selling items).
4. Upload

The Design Space also allows you to upload your own images(common files are jpeg, png, and svg). You can search google and you will find a ton of free SVG options and upload each of them into your Design Space one at a time. Be sure to check out the Design Space for Beginners videos for this just so you have a better understanding before jumping in.
I know it looks like a whole lot of information but I promise if you watch the videos and you will be a pro in no time. Good luck on your first project and as always Happy Crafting!